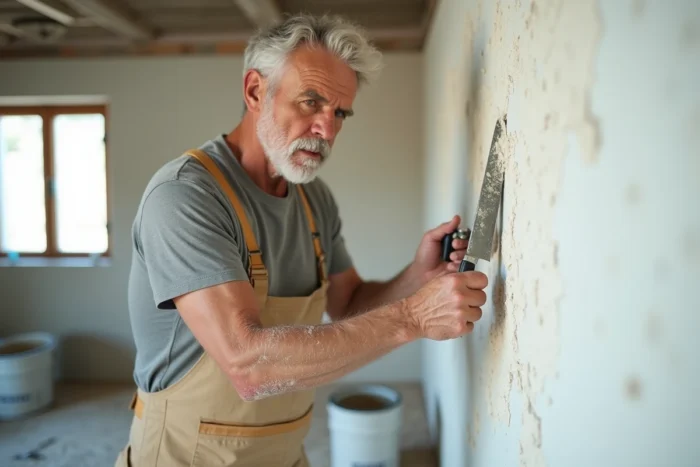
Dry plaster adheres to the substrate through a combination of chemical setting (hydration of calcium sulfate) and mechanical anchoring in the porosity of the wall. Understanding this dual mechanism changes the removal strategy: simply softening the chemical setting through humidification is not always sufficient, especially on thick layers applied to brick or stone with high roughness. Here we detail the techniques that preserve the substrate while ensuring a clean stripping.
Depth adjustment and cross passes: the interior stripper
Concrete planers and electric strippers, originally designed for stripping facades, are finding increasing utility in interior renovation. Their main advantage lies in the millimeter depth adjustment, which allows for the removal of a layer of plaster without damaging the masonry.
We recommend setting the depth to a minimum, then proceeding with cross passes (horizontal then vertical). This technique reduces jolts that leave hollow marks on the wall. On very hard old plaster, the stripper offers significantly better control than a manual spatula, where the pressure applied varies from one stroke to another.
Before tackling an entire surface, test on an area the size of a hand. If the substrate disintegrates or if brick fragments come off with the plaster, the depth is too aggressive. Back off a notch and try again.
To remove dry plaster from a wall without surprises, this mechanical approach remains the most reliable as soon as the thickness exceeds a few millimeters.
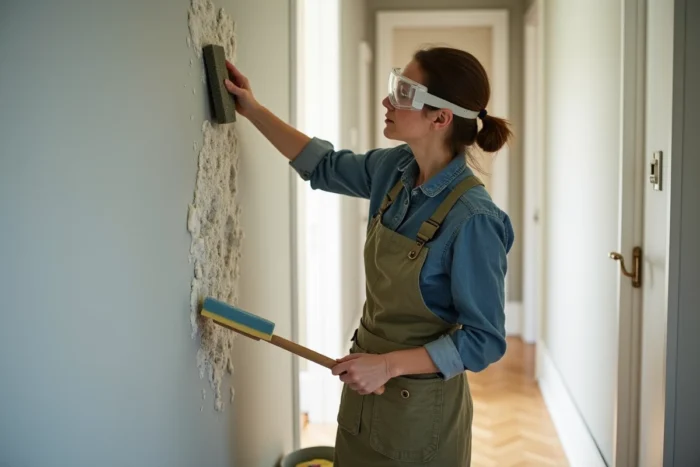
Humidification of dry plaster: dosage and penetration time
Warm water applied with a sprayer softens the chemical setting of the plaster by partially rehydrating the calcium sulfate. The classic trap is to soak the wall all at once, which saturates the substrate and weakens the masonry without improving surface detachment.
Method by successive passes
Spray a first light layer and wait several minutes. The plaster should change color as it absorbs the water. Repeat the operation until the spatula penetrates without force. Three light passes are better than a single soaking: gradual penetration avoids saturating the deeper layers of the wall with water.
On very old plaster, sometimes covered with several layers of paint, water does not penetrate. In this case, scarify the surface with a toothed spatula or a blade scraper before humidifying. The micro-cuts create absorption pathways.
Zone by zone, not the entire wall
Work in sections of about one square meter. The softened plaster dries quickly: if you humidify an entire wall, the first area will be dry again by the time you reach it. This division has a second advantage, the active dust management through alternating scraping and cleaning.
Plaster dust management: an underestimated health issue
Plaster dust is a fine mineral dust that remains suspended for a long time. It infiltrates ventilation systems, settles on electronic devices, and irritates the respiratory tract. We observe that most guides focus on the scraping technique and completely neglect this aspect.
- Systematically humidify the area before and during scraping to keep particles on the ground instead of dispersing them into the air
- Vacuum as you go with a construction vacuum equipped with a fine filter, not a household vacuum whose filter clogs in a few minutes
- Isolate the room by closing doors and sealing ventilation openings with tape and plastic sheeting to confine the dust to the work area
- Wear at least an FFP2 mask, protective goggles, and gloves, even for a small job
This protocol extends the work time by a fraction of the total time, but avoids a general cleaning of the home that takes much longer.
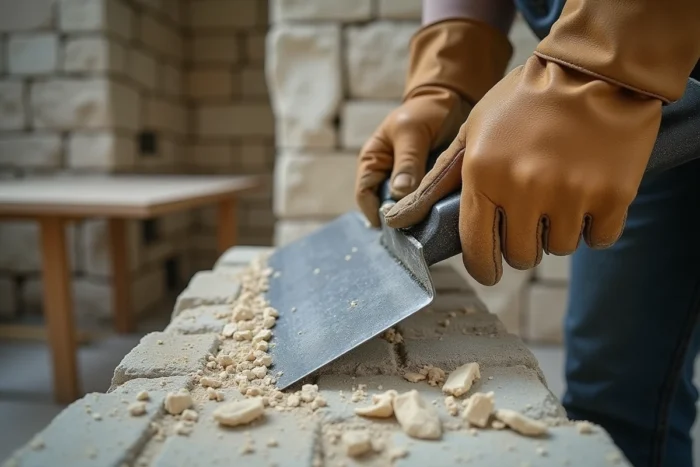
Substrate control after removal: flatness and bonding primer
Once the plaster is removed, the raw wall often presents irregularities: adhesive residues, tearing craters, areas more porous than others. Directly applying a new coating or paint on this heterogeneous substrate causes micro-cracks and rapid flaking.
Flatness check with a level
Run a mason’s rule or long level over the surface. Depressions of more than a few millimeters must be filled with a leveling compound before any finishing. Residual bumps can be sanded with a pole sander or coarse sandpaper mounted on a block.
Application of a bonding primer
The bonding primer equalizes the absorption of the substrate and creates an adhesion film for the next layer. On a bare brick or stone wall, this step directly conditions the hold of the finishing coat. Without it, very porous areas absorb the binder of the coating too quickly, leading to uneven drying and shrinkage cracks.
Apply the primer with a roller in a uniform layer and respect the drying time indicated by the manufacturer before coating. On a very absorbent substrate, a second coat may be necessary.
Spatula, chisel, or machine: choosing the tool according to plaster thickness
The choice of tool depends less on the total surface than on the thickness and hardness of the layer to be removed.
- Thin layer (smoothing compound, a few millimeters): wide rigid spatula after humidification. The work remains manual and quick
- Medium layer (classic plaster): long-handled scraper or tiler’s spatula, in addition to humidification by passes
- Thick layer or very hard plaster: electric stripper with depth adjustment, or flat chisel and hammer for localized areas. The chisel should be held at a low angle to slide under the plaster rather than striking the substrate
In all cases, we advise against using a rotary hammer in chisel mode on thin partitions or old rubble walls: the vibration can dislodge stones or crack the joint mortar.
Removing dry plaster remains a methodical task where preparation (humidification, protection, tool choice) matters more than brute force. A substrate properly stripped, checked for level, and treated with a bonding primer will accept any finish without premature defects.